Podcasting is booming, and more people are tuning in to listen to their favorite shows. But what separates a good podcast from a great one?
The answer lies in the sound quality, and that starts with a professional podcast studio setup.
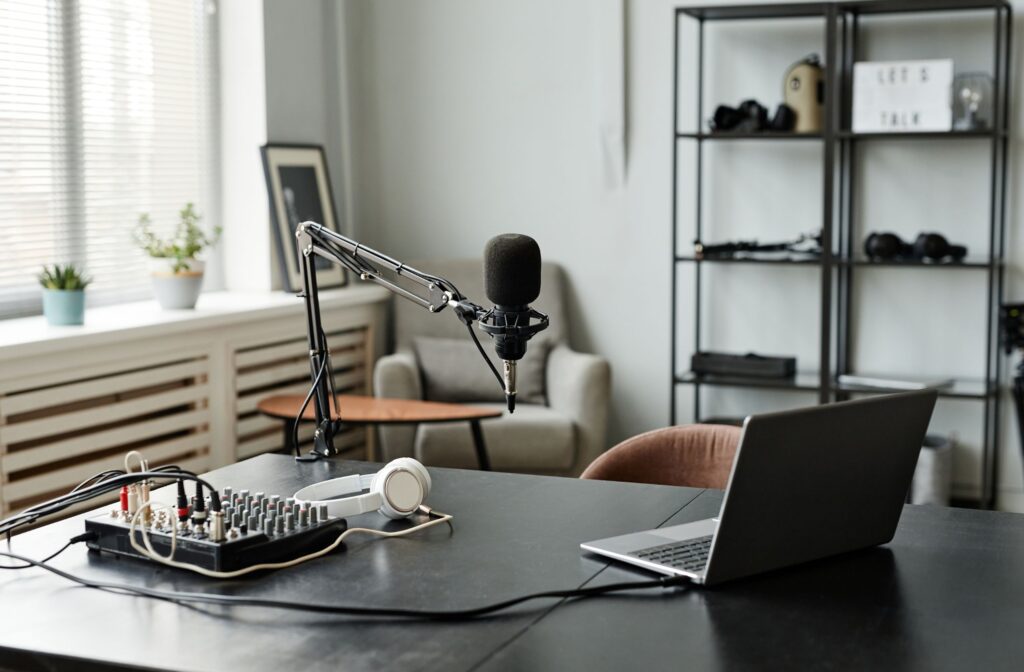
This guide will walk you through everything you need to know to set up a professional podcast studio at home, even if you’re a beginner.
By the end of this article, you’ll be ready to record high-quality podcasts that sound just as good as those produced in a professional studio.
Why You Need a Professional Podcast Studio at Home
Before diving into the technical details, it’s important to understand why a professional podcast studio is essential for delivering high-quality content.
Sound quality is critical in podcasting. A professional podcast studio at home ensures that your episodes sound clear and engaging, helping to keep your audience tuned in.
Good sound quality builds credibility and professionalism, which is vital for growing your podcast audience. Moreover, having a dedicated space at home where you can focus solely on recording can help you create content more efficiently.
Essential Equipment for Your Home Podcast Studio
The first step in setting up your podcast studio is gathering the right equipment that suits both your budget and needs.”
Having the right equipment is the foundation of a professional podcast studio.
Here’s what you’ll need:
1) Microphones

Choosing the right podcast mic is crucial, as it’s the primary tool that captures the essence of your voice.
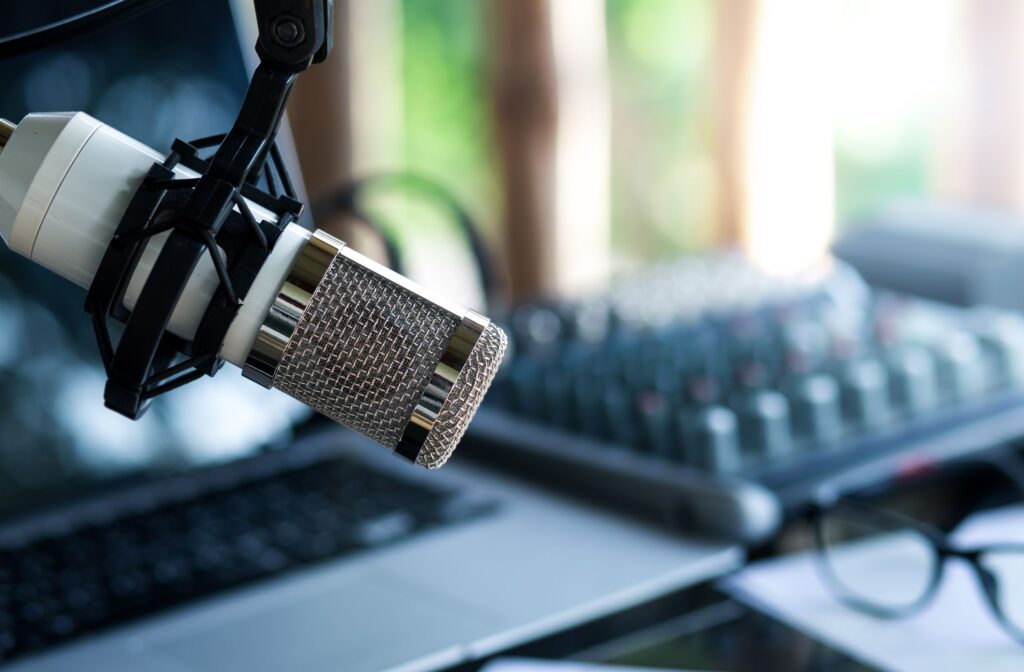
The microphone is the heart of your podcast setup.
- Dynamic vs. Condenser Microphone: If you’re recording in a less-than-ideal acoustic environment (like a room with a lot of echo or noise), a dynamic microphone is a great choice. If you’re in a controlled environment, a condenser microphone will give you more detail and clarity.
- USB vs. XLR Microphone: USB microphones plug directly into your computer and are ideal for beginners due to their simplicity. XLR microphones require an audio interface but offer higher sound quality and more flexibility as you grow.
Popular choices include the Shure SM7B and the Audio-Technica ATR2100x.
2) Audio Interfaces and Mixers
To ensure that your audio sounds crisp and professional, an audio interface or mixer is essential for converting your voice into high-quality digital sound.
An audio interface converts your voice from analog to digital, while a mixer allows you to control various audio sources. Basic models usually have 1-2 inputs, which is sufficient for podcasting.
USB vs. Thunderbolt: As a beginner, You’ll find a USB audio interface perfectly adequate for your needs. Thunderbolt interfaces offer lower latency and higher performance but are typically more expensive.
Here are three highly recommended audio interfaces that are great for podcasting, each offering a blend of quality, affordability, ease of use, and features suited for both beginners and experienced podcasters:
Focusrite Scarlett 2i2 (3rd Gen)
- Why It’s Great: The Focusrite Scarlett 2i2 is one of the most popular audio interfaces for beginners and professionals alike. It offers excellent sound quality, low latency, and two mic/instrument inputs, making it perfect for podcasting with multiple microphones or other audio sources.
- Features:
- 24-bit/192kHz audio resolution
- Two Scarlett mic preamps with switchable phantom power
- USB-powered, making it portable and easy to use
- Comes with a bundle of recording software, including Pro Tools and Ableton Live Lite
Audient iD4 MKII
- Why It’s Great: The Audient iD4 MKII is known for its outstanding build quality and pristine audio performance. It’s a compact, bus-powered interface with one high-quality preamp, making it an excellent choice for solo podcasters who value sound clarity.
- Features:
- 24-bit/96kHz audio resolution
- One Audient Class-A mic preamp with phantom power
- Dedicated JFET DI input for instruments
- ScrollControl feature for controlling DAW parameters
PreSonus AudioBox USB 96
- Why It’s Great: The PreSonus AudioBox USB 96 is a budget-friendly interface that doesn’t skimp on quality. It’s reliable, straightforward, and comes with everything a beginner needs to get started with podcasting.
- Features:
- 24-bit/96kHz audio resolution
- Two combo mic/instrument inputs with 48V phantom power
- MIDI I/O for connecting keyboards or controllers
- Comes with PreSonus Studio One Artist DAW and a suite of virtual instruments and effects
For beginners, an audio interface like the Focusrite Scarlett 2i2 is straightforward to use.
If you’re planning to have multiple guests or want more control over your audio levels and EQ settings, a mixer might be a better choice.
Mixers typically offer more input channels than standard audio interfaces, making them ideal for podcasting with multiple hosts, guests, or additional sound sources (like music, sound effects, or phone calls).
You can control each channel separately, giving you more flexibility. However, they can be more complex to use than a simple audio interface.
Here are a few good but affordable mixers for podcasting
3) Headphones
Monitoring your audio in real-time with a good pair of headphones ensures that you catch any issues before they affect your final recording.
Closed-back headphones like the Audio-Technica ATH-M50x are popular because they prevent sound from leaking into the microphone, ensuring a clean recording.
Some other great choices include:
- Sony MDR-7506
- Pros: Clear and detailed sound, comfortable, widely used in the industry, collapsible for easy storage.
- Price Range: $100 – $130
- AKG Pro Audio K240
- Pros: Semi-open design for more natural sound, good for detailed listening, comfortable.
- Price Range: $70 – $90
- Samson SR850
- Pros: Affordable, good sound quality for the price, semi-open design for better soundstage.
- Price Range: $40 – $50
- Behringer HPS3000
- Pros: Very affordable, decent sound quality for the price, comfortable.
- Price Range: $20 – $30
4) Pop Filters or Windscreen
Accessories like pop filters might seem minor, but they play a big role in maintaining the clarity and consistency of your audio.
Pop filters reduce plosive sounds (like “p” and “b”) that can distort your audio, while boom arms allow you to position your microphone comfortably. These tools help maintain consistent audio quality and improve your overall recording setup.
5) Soundproofing and Acoustic Treatment
To achieve professional sound quality, it’s vital to control the acoustics in your recording space through proper soundproofing and treatment.”
Soundproofing helps block outside noise, while acoustic treatment reduces echo within your room.
These are the three main elements of soundproofing:
Acoustic Panels: Acoustic panels help absorb sound waves and reduce echo within your recording space. For a DIY approach, consider using foam panels or fabric-wrapped panels mounted on walls.
Bass Traps: Bass traps absorb low-frequency sounds and reduce unwanted bass build-up in corners of your room. Place them in the corners of your studio where low frequencies tend to build up.
Diffusers: Diffusers spread sound waves around the room, which helps to reduce echo and prevent the sound from being too focused or flat. They work best when used with acoustic panels and bass traps.
Placing rugs or blankets in the room can make a big difference.
6) Recording & Editing Software
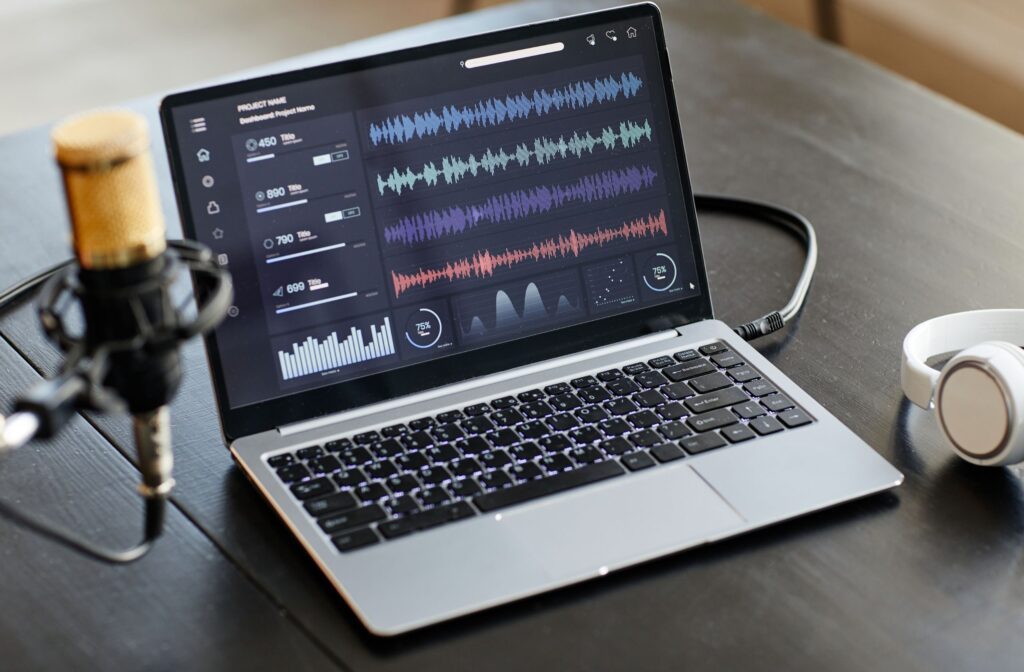
Your recording software is where the magic happens, allowing you to record, edit, and produce your podcast with professional precision.
Software like Audacity, Adobe Audition, or GarageBand is where you’ll record and edit your podcast.
Choose a podcast editing software that matches your skill level. Audacity is a great free option for beginners, while Adobe Audition offers more advanced features for those willing to invest.
Top 7 Podcast Recording Software for Beginners in 2024: The Ultimate Guide to Flawless Sound
6) Microphone Stand
A good microphone stand keeps your microphone steady, minimizes unwanted handling noise, and positions the mic at the correct height and angle for optimal sound quality.
Investing in a high-quality stand will enhance your recording experience and improve the overall sound quality of your podcast.
Best Microphone Stands for Podcasting:
- Rode PSA1 Swivel Mount Studio Microphone Boom Arm
- Heil Sound PL-2T Overhead Broadcast Boom
- Blue Compass Premium Tube-Style Broadcast Boom Arm
Step-by-Step Guide to Setting Up Your Podcast Studio

You are almost ready to start recording.
With your equipment in hand, it’s time to set up your podcast studio step by step, ensuring each component is optimally positioned for the best sound quality.
Step 1. Choose the Right Room
The room you choose for your studio can significantly impact the sound quality, so it’s important to select a space that minimizes noise and echo.
Select a quiet room in your house with minimal background noise.
Avoid rooms with too many windows or hard surfaces that reflect sound. If possible, choose a room with carpet or heavy curtains to help dampen sound.
Step 2. Set Up Your Microphone, Mic Stand, and Pop Filter
Proper microphone placement is key to capturing your voice with clarity and minimizing background noise.
- Place the microphone about 6-12 inches away from your mouth, slightly angled to avoid direct airflow hitting the microphone, which can cause popping sounds.
- Adjust the microphone stand so the microphone is at mouth level when you’re seated or standing. Make sure the stand is stable and doesn’t wobble.
- Attach the pop filter to your microphone stand so that it is about 2-3 inches in front of the microphone. The filter should be directly between your mouth and the microphone.
- Speak a few test lines and adjust the distance between your mouth, pop filter, and microphone to find the best sound quality without harsh plosives.
Test and Adjust: Speak into the microphone while monitoring the input levels on your audio interface or computer. The levels should be peaking at around -6dB to -3dB, ensuring you have enough headroom to avoid distortion.
Step 3. Connect Your Audio Interface and Computer
Your audio interface serves as the bridge between your XLR microphone and your computer, ensuring high-quality digital sound.
3.1: Select Your Audio Interface
- Choosing the Right Interface: Your audio interface serves as the bridge between your XLR microphone and your computer. Choose one that fits your needs—basic models usually have 1-2 inputs, which is sufficient for podcasting.
- USB vs. Thunderbolt: Most beginners will find a USB audio interface perfectly adequate. Thunderbolt interfaces offer lower latency and higher performance but are typically more expensive.
3.2: Connect the Audio Interface to Your Computer
- USB Connection: Use the provided USB cable to connect your audio interface to an available USB port on your computer. Make sure it’s a high-speed port (USB 2.0 or higher) for the best performance.
- Powering the Interface: Some interfaces draw power directly from the USB connection, while others may require an external power source. If your interface needs an external power adapter, plug it in now.
3.3: Install Drivers and Software (if necessary)
- Installing Drivers: Some audio interfaces require specific drivers to be installed on your computer. Check the manufacturer’s website for the latest driver and software updates.
- Software Installation: If your interface comes with recording software or a digital audio workstation (DAW), install it following the on-screen instructions.
3.4: Connect Your Microphone to the Audio Interface
- Using an XLR Cable: Plug one end of the XLR cable into your microphone and the other end into an input on your audio interface. Ensure the connections are snug to avoid any signal loss.
- Phantom Power (for Condenser Microphones): If you’re using a condenser microphone, turn on the +48V phantom power switch on your audio interface to supply the necessary power to the microphone.
3.5: Configure Your Computer’s Audio Settings
- Select the Audio Interface: Go to your computer’s sound settings and select the audio interface as the input and output device. On Windows, this can be done in the Control Panel; on Mac, it’s in System Preferences.
- Adjust Audio Settings: Open your DAW or recording software and make sure the audio interface is selected as the input device. Set the sample rate (44.1kHz is standard for podcasts) and buffer size (256 or 512 samples) for optimal performance.
3.6: Test Your Setup
- Sound Check: Record a test clip to ensure everything is connected and configured properly. Listen back to the recording to check for clarity, volume levels, and any unwanted noise.
- Troubleshooting: If you encounter issues, double-check your connections, ensure all drivers are up to date, and refer to the manufacturer’s support resources.
Step 4. Arrange Your Acoustic Treatment
Strategically placing acoustic treatment in your studio can transform a regular room into a professional-sounding space.
Place acoustic panels on the walls where sound reflects most, usually behind and in front of your recording setup.
Position bass traps in the corners of the room to absorb low-frequency sounds, and use diffusers to scatter any remaining sound reflections.
Step 5. Test Your Setup
Before you hit ‘record’ on your first episode, it’s crucial to test your setup to ensure everything is functioning perfectly.
Record a few test clips to check for any issues. Listen carefully for background noise, echo, or distortion. Adjust your equipment or room setup as needed to achieve the best sound quality.
Tips for Recording High-Quality Podcasts

Now that your studio is set up, here are some pro tips to help you record high-quality podcasts that stand out.
1) Maintain Consistent Audio Levels
Consistency in audio levels is key to providing a pleasant listening experience for your audience.
Keep an eye on your recording levels to ensure they’re not too high or too low.
Avoid speaking too close to or too far from the microphone to maintain a consistent volume.
2) Eliminate Background Noise
Background noise can be distracting, so it’s important to take steps to minimize or eliminate it from your recordings.
Turn off any noisy appliances, close windows, and ask others in your home to stay quiet while you’re recording. If the noise persists, consider adding more soundproofing to your studio.
Post-Production Editing Tips

Editing is where your raw recordings are refined into a professional-quality podcast.
Use your editing software to remove any mistakes, long pauses, or background noise.
Normalize your audio levels, add intro and outro music, and include any effects to enhance the overall quality.
Enhancing Audio Quality with Effects
Enhancing your audio with the right effects can take your podcast from good to great.
Use equalization (EQ) to balance your audio frequencies, compression to smooth out volume differences, and noise reduction to eliminate any remaining background noise.
Common Mistakes to Avoid When Setting Up a Podcast Studio
Even with the best equipment, certain mistakes can hinder the quality of your podcast; here’s how to avoid them.
1) Overcomplicating Your Setup
It’s easy to get carried away with complex setups, but simplicity often leads to better results.
Start with a simple setup and add more equipment as needed. A basic setup with a good microphone, headphones, and audio interface is often enough to produce high-quality podcasts.
2) Ignoring Room Acoustics
No matter how good your microphone is, poor room acoustics can ruin the quality of your recording.
Don’t underestimate the importance of soundproofing and acoustic treatment. Even a small amount of treatment can drastically improve your sound quality.
3) Skimping on Essential Equipment
Cutting corners on essential gear can lead to subpar audio quality and technical issues down the line.
Invest in good-quality equipment, especially your microphone and audio interface. These are the core of your setup, and better equipment will yield better results.
4) Neglecting Regular Maintenance
Regular maintenance ensures your equipment stays in top shape and prevents unexpected issues during recording.
Clean your microphone and headphones regularly, check your cables for wear and tear, and update your recording software to keep everything running smoothly.
Budgeting Tips for Setting Up Your Home Podcast Studio
Setting up a professional podcast studio doesn’t have to break the bank; here’s how to create a high-quality setup on a budget.
1) Prioritize Essential Equipment
When working with a limited budget, it’s important to prioritize the most essential equipment to get started.
Focus on getting a good microphone and audio interface first, as these are the most critical components. You can always add more equipment later as your budget allows.
2) DIY Soundproofing Solutions
You don’t need to spend a fortune on soundproofing; there are plenty of effective DIY solutions to improve your room’s acoustics.
Use rugs, blankets, and furniture to dampen sound in your recording space. DIY acoustic panels made from foam or insulation can also be a cost-effective solution.
3) Affordable Alternatives to High-End Equipment
There are plenty of affordable alternatives that offer great performance without the hefty price tag.
Budget-friendly microphones like the Samson Q2U or the Fifine K669B provide excellent sound quality at a fraction of the cost of high-end models.
Wrapping Up Your Podcast Studio Setup
By now, you should have a clear understanding of how to set up a professional podcast studio at home that delivers top-notch sound quality.
Setting up a professional podcast studio at home is crucial for delivering high-quality content that engages your audience.
Prioritize essential equipment like a good microphone, audio interface, and headphones to ensure clear sound.
Don’t overlook room acoustics and proper setup to minimize noise and improve audio clarity.
Remember, starting a podcast with basic equipment is perfectly fine. As you grow and gain experience, you can gradually enhance your setup.
The key is to begin with what you have and continuously refine your studio to achieve the best sound quality. Your dedication to improving your podcast’s audio will pay off in creating a more professional and captivating show.
FAQs
The microphone is the most important piece of equipment. It’s the primary tool that captures your voice, so investing in a good-quality microphone is essential for producing professional-sounding podcasts.
Reducing starts by choosing the right podcasting space. To reduce background noise, choose a quiet room, turn off noisy appliances, and use soundproofing materials like acoustic panels. Additionally, using a dynamic microphone can help minimize background noise.
A mixer is not necessary for all setups, especially if you’re just starting. An audio interface is sufficient for most beginners. However, if you plan to have multiple audio sources or want more control over your sound, a mixer might be a good investment.
Yes, you can set up a professional podcast studio on a budget by prioritizing essential equipment like a good microphone and audio interface and using DIY soundproofing solutions.
Improve acoustics by adding sound-absorbing materials like rugs, curtains, and acoustic panels. Positioning furniture strategically and using DIY solutions can also enhance the sound quality in your studio.

